
Trimming redbud tree may seem like a difficult undertaking, but with the appropriate information and method, you can easily improve the tree’s health and attractiveness. Garden aficionados love redbuds because of its distinctive heart-shaped leaves and gorgeous spring blossoms.
We’ll go into the art of trimming redbud tree in this article, looking at how to prune a Redbud tree to ensure its best growth and visual attractiveness.
Understanding the Redbud Tree
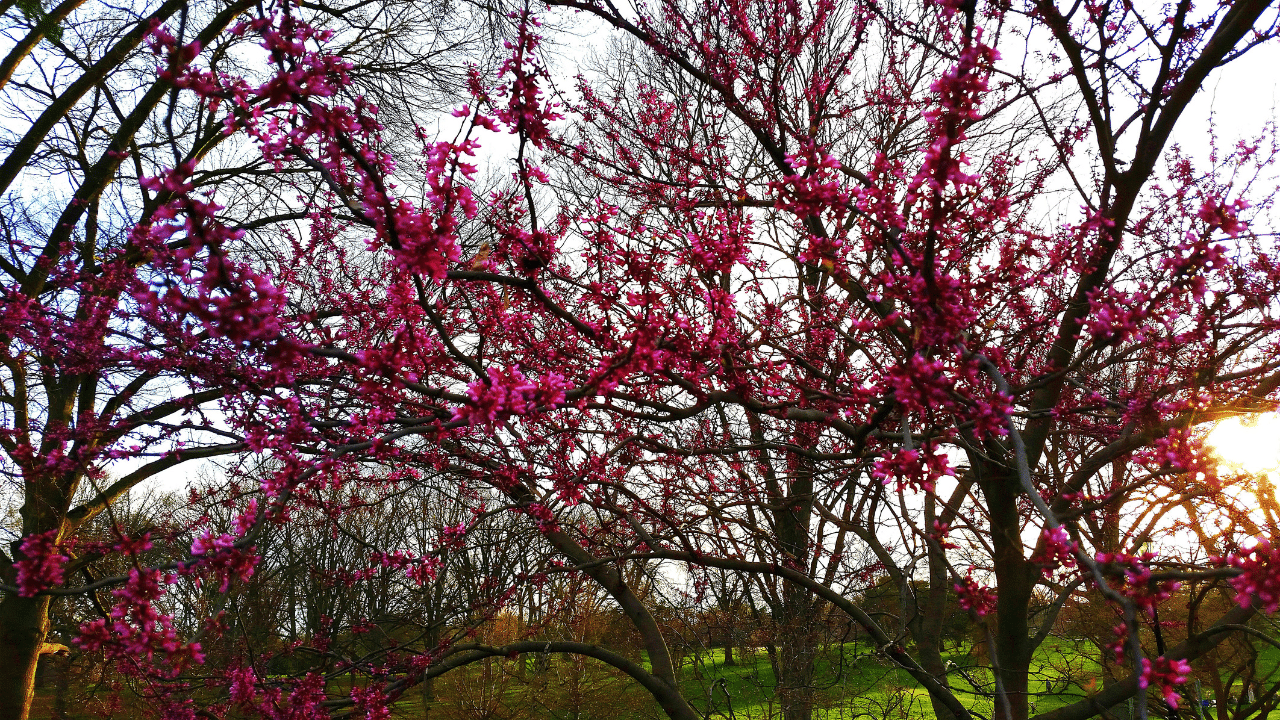
Let’s take time to learn about Redbud trees before we get into the trimming redbud tree. These deciduous trees, which are native to North America and are of the genus Cercis, are well-known for the vivid pink or purple blooms that they produce along their branches. Redbuds are a graceful addition to landscapes, growing at a moderate pace and being tolerant of many soil types.
Why Trimming Redbud Tree?
Trimming Redbud trees offers various benefits when done correctly. In addition to helping to shape the tree, it promotes airflow, sunlight penetration, and the trimming of diseased or damaged branches. Regular pruning is necessary to prevent disease from spreading, encourage new growth, and maintain the tree’s general health.
When Is It Time to Trim Redbud Trees?
Accurate timing is necessary for efficient trimming redbud tree. Right before new growth starts, in the early spring or late winter, is when pruning is most effective. The tree may concentrate its efforts on healing and producing new leaves during this dormant season as it will be under less stress.
Tools for Trimming Redbud Tree
Make sure you have the required tools before you begin trimming.
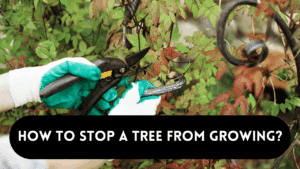
Essential tools include a pruning saw for deeper cuts, loppers for thicker branches, and a sharp set of pruning shears. In order to stop the transmission of illness, make sure your instruments are clean and well-maintained.
Step-By-Step Guide on How to Trim a Redbud Tree
1. Examine the Tree’s Form
Start trimming redbud tree by examining the Redbud tree’s general structure in great detail. Find any branches that are diseased, dead, or crossing that might impede the growth of the plant. The basis for a successful trimming approach is established by this preliminary evaluation.
2. Begin with branches that are sick or dead.
As they may act as breeding grounds for pests and illnesses, remove any dead or damaged branches first. Just beyond the branch collar, or the swelling region where the branch joins the trunk, make clean incisions.
3. Handle Branches That Cross
Crossed branches can rub against each other, causing damage and creating entry points for diseases. Identify and remove any branches that intersect, prioritizing those with potential to cause issues in the future.
4. Shape for Aesthetic Appeal
Consider the desired shape of your Redbud tree. Whether you opt for a more natural form or a specific shape, trim the branches accordingly. Always aim for a balanced look that complements the tree’s natural beauty.
5. Thinning Branches
Thinning involves selectively removing branches to enhance air circulation and sunlight penetration. Focus on crowded areas, ensuring that each branch has enough space for optimal growth. This step contributes to the overall health and vigor of the tree.
6. Crown Cleaning
The crown, or the upper part of the tree, is a vital area for sunlight exposure. Remove any congested or weak branches in the crown to allow sunlight to reach lower branches, promoting a healthier and more robust tree.
After-Care for Trimming Redbud Tree
Well done on your great trimming Redbud tree! Let’s now talk about some post-trimming maintenance guidelines to protect the tree.
Mulching the Trees
Cover the tree’s base with an organic mulch layer that reaches the drip line. Mulching aids in root insulation, weed suppression, and moisture retention in the soil.
Hydrating the Redbud Trees
Give the tree enough water, especially in the dry seasons. In addition to promoting root growth, deep watering eases the tree’s recovery from the stress of trimming.
Fertilizing the Tree
To supply vital nutrients for fresh development, think about putting down a balanced fertilizer in the early spring. Adhere to suggested dose recommendations to prevent overfertilization.
Keeping an Eye on Growth of Redbud Tree
Keep an eye on the Redbud tree’s growth and take quick action to resolve any problems. Watch out for any potential illnesses, pests, or unusual changes in foliage.
FAQs
When is the best time of year to prune Redbud trees?
The ideal time for trimming Redbud tree is during the dormant season, which extends from late winter to early spring. This ensures the tree has little stress and encourages robust new growth.
Can I use any pruning shears, or need I use a specific set?
It’s crucial to use clean, sharp tools while trimming. It is recommended to use a pruning saw for big cuts and pruning shears or loppers for thicker branches. Equipment that is not maintained prevents the spread of infections.
How should I prune my Redbud tree to make it look nicer?
When you are trimming Redbud tree, think about the appearance you want, whether it’s a more organic shape or a particular one. Aim for a balanced look that accentuates the tree’s inherent beauty while pruning the branches.
Should sick or dead branches be cut off?
Eliminating unhealthy or dead branches is essential. The general health of the tree may be impacted by the pests and illnesses that these branches may harbour. For efficient removal, make neat cuts immediately outside the branch collar.
How should a Redbud tree be cared for after trimming?
After trimming redbud tree, give post-care by mulching the base, making sure the plant receives enough water, and fertilizing the plant in the early spring with a balanced fertilizer. For the tree to remain healthy and vibrant, check it frequently for pests, illnesses, and unusual changes in the leaves.
Conclusion
Trimming redbud tree is a gratifying task that improves the tree’s long-term health and visual appeal. By following these easy instructions, you may take pleasure in the beauty of a well-maintained Redbud tree in your backyard. Remember to give thorough aftercare. Prudence and confidence are key while pruning your area, since each step you take will bring it closer to brightness and blossoming. Have fun while you’re cutting!